Monday, April 18, 2011

Snuggle Bunny Monday


Oreo and Jumbles 0025, originally uploaded by sugar-cookie.

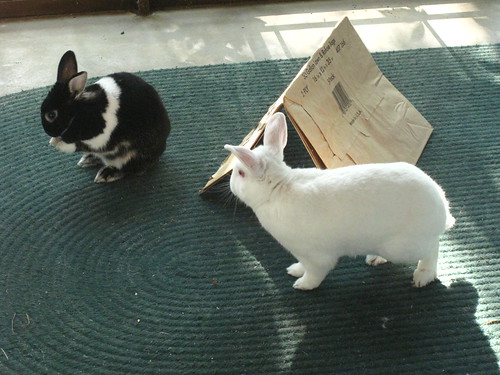
Here are our two bunnies having fun yesterday during a very long playtime on our patio. They are getting more relaxed and used to each other, but sometimes Oreo's excitement for having a new friend gets in the way and she has to chase him for a bit. I had to break it up and remind her he is a good bun, and she should be nice to him.
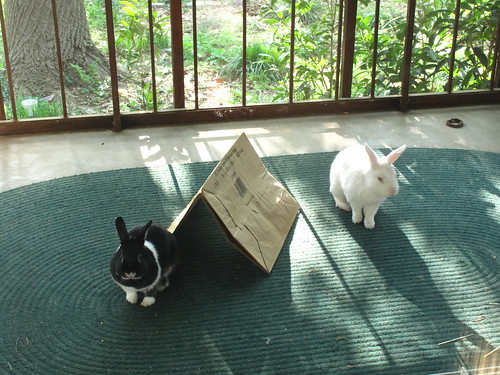
Oreo and Jumbles 0016
They like to play and run through this paper bag tent we made. It is a Bun Run!
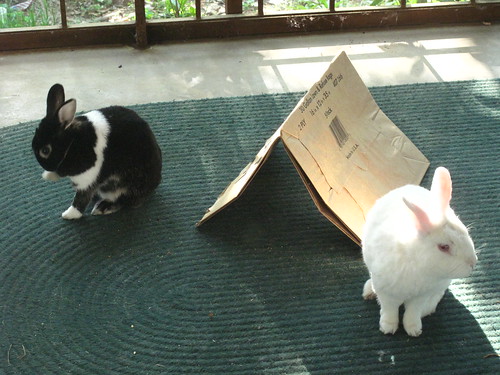
Oreo and Jumbles 0024

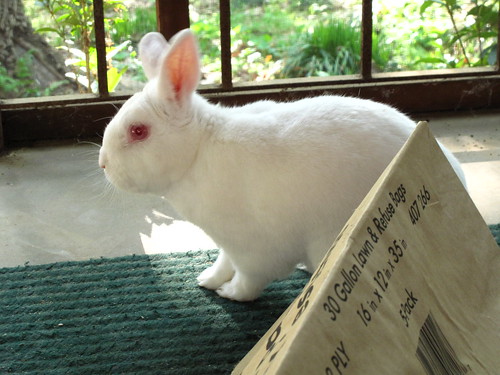
Jumbles 0012
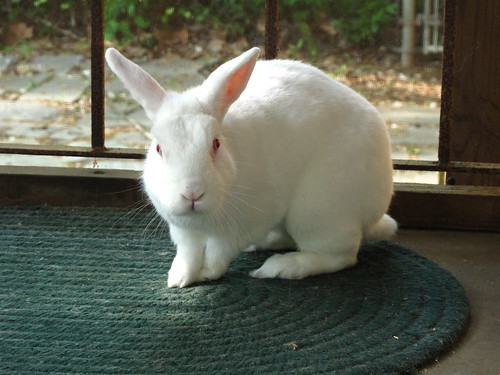
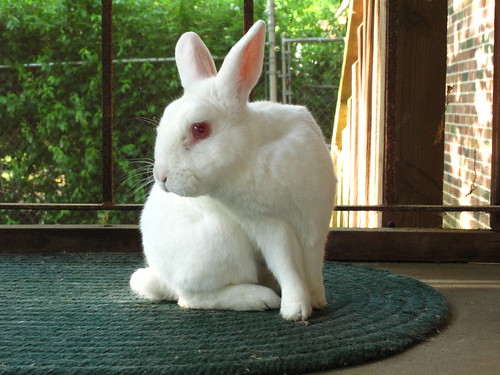
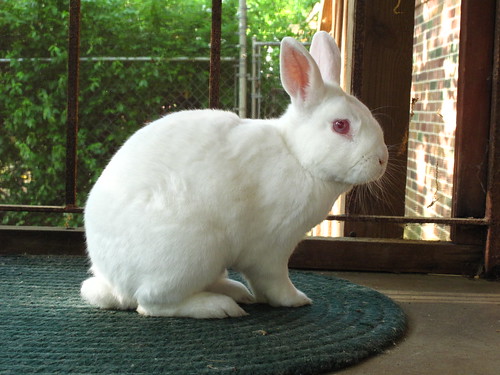
Here are some more pictures I took of Jumbles. He is getting used to everything at home, and he is more confident when he is playing. Sometimes he just likes to sit like a loaf, but they were both pretty excited to play. The weather has been perfect for them lately - not too hot yet.
Jumbles 0007
Who can resist this face? I mean, look at his chubby cheeks! He is so sweet.
Jumbles 0006

Jumbles 0005

Jumbles 0010
We love Jumbles so much already! He is so soft, too. He is a good bunny!


Sunday, April 17, 2011

How to Make Pompom Peeps

How to Make Pompom Peeps 0185
My mom and I made peeps similar to this when I was little. I think she got the idea from a magazine. They are really easy to make! Let's try it.

You will need:

How to Make Pompom Peeps 0166
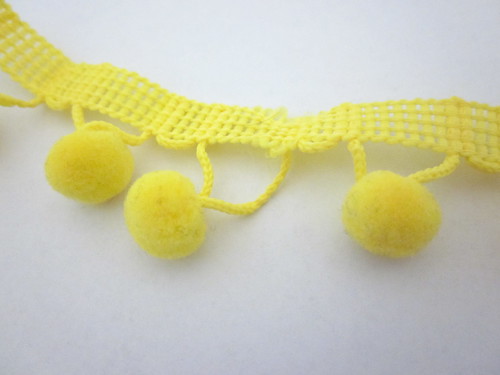
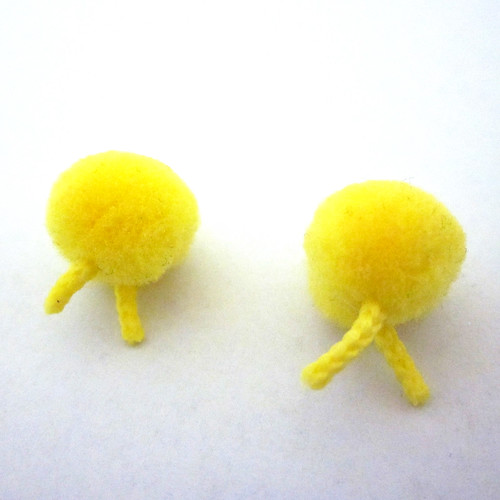
pompom trim

How to Make Pompom Peeps 0167
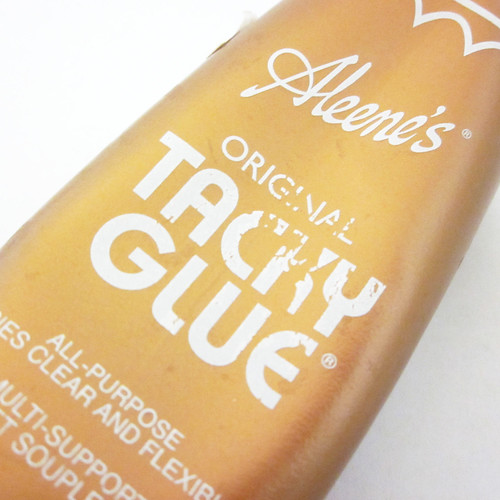
tacky glue - I use Aleene's Tacky Glue

How to Make Pompom Peeps 169
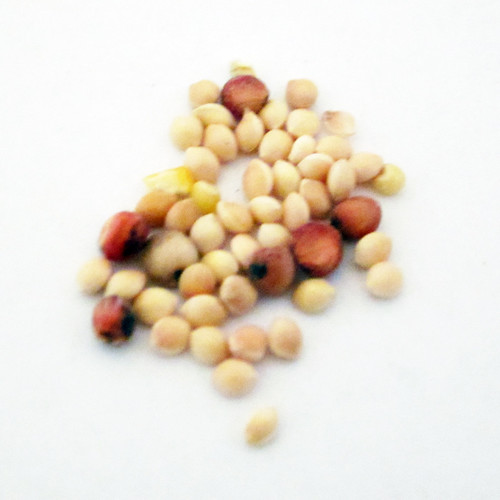
bird seed

Some things not shown that you will need:
scissors
tweezers

Here is what to do:
How to Make Pompom Peeps 0171
Cut the pompoms off the trim as shown. This is the head and body of the peep. Cut the connecting thread from the trim short for the beak, and a little longer for the legs. You will see why in the next step. I like to use some of the glue on the parts I cut. It helps the beak and legs from fraying. Let these pieces dry.

IMG_How to Make Pompom Peeps
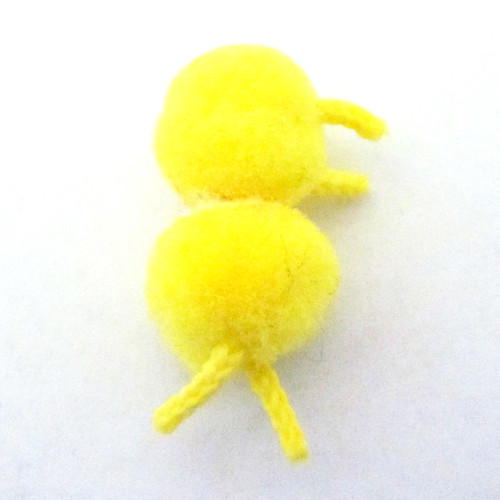
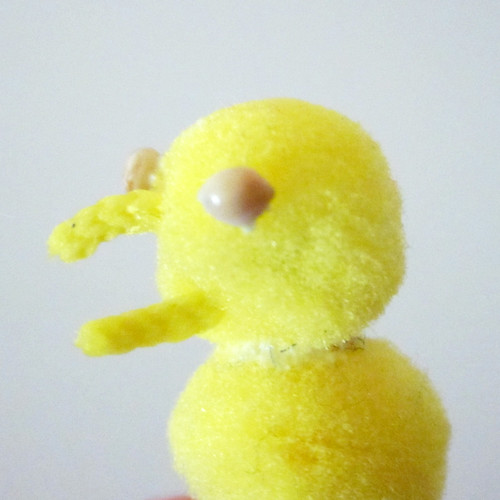
Glue the head to the body as shown here. Position the beak facing forward. Position the legs facing down. Let dry.

How to Make Pompom Peeps 0175

How to Make Pompom Peeps 0174

How to Make Pompom Peeps 0177
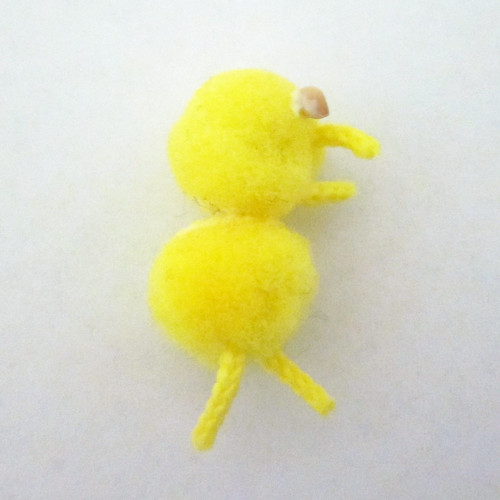
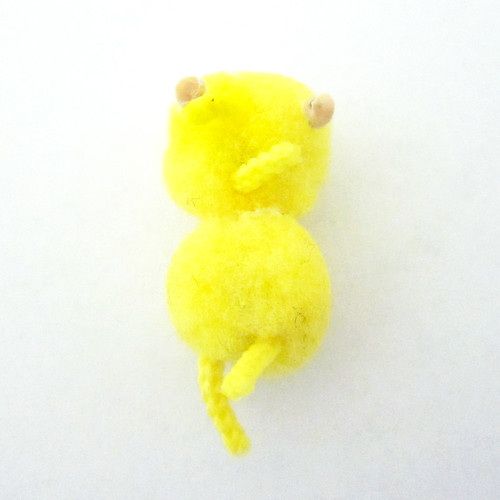
Next, take a small bird seed in the tweezers. Place a small amount of glue on the seed and place on the pompom as shown here. Do this for each eye. I find that squeezing a little glue on a scrap paper helps me control how much glue is on the seed. I also like to try different size and colors of bird seed to vary the looks of the peeps. Let the peep dry completely.

Repeat these steps to make more peeps!

How to Make Pompom Peeps 0178
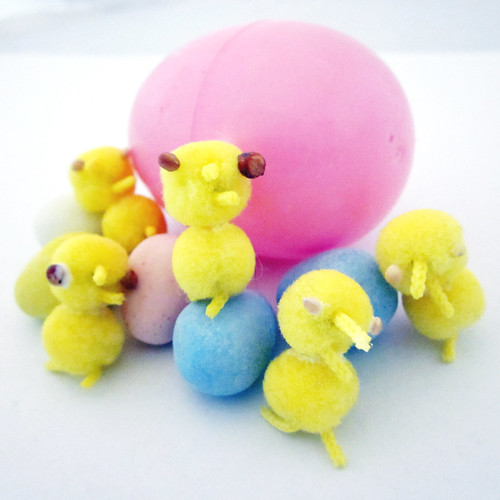
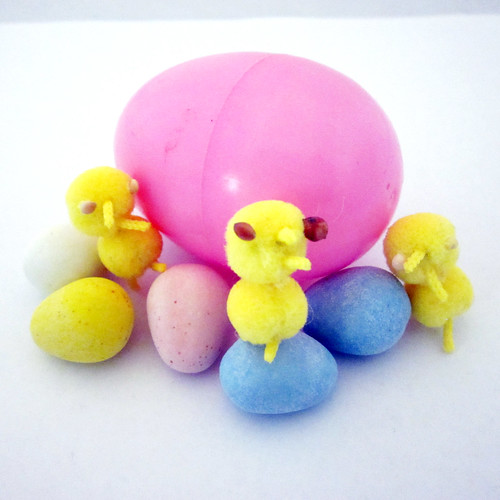
Hooray! You have made a peep!

I like to use the plastic eggs with these peeps. You can also place them inside the eggs, too, as a cute Easter surprise!

When my mom and I made these, we had better pompoms (this was in the 1980's!) and used a fatter pompom for the body, a smaller one for the head. I was unable to find any size other than small (shown in my photos). Our peeps were lots bigger than mine today! We also had small plastic eggs that they fit in perfectly. Another thing we had with ours were egg shells blown out and dyed, so the peeps could be displayed in the egg shell.

Hope you try this! It is a fun spring craft!

Thursday, April 14, 2011

New And Notable At Shanalogic!

PADS 5424

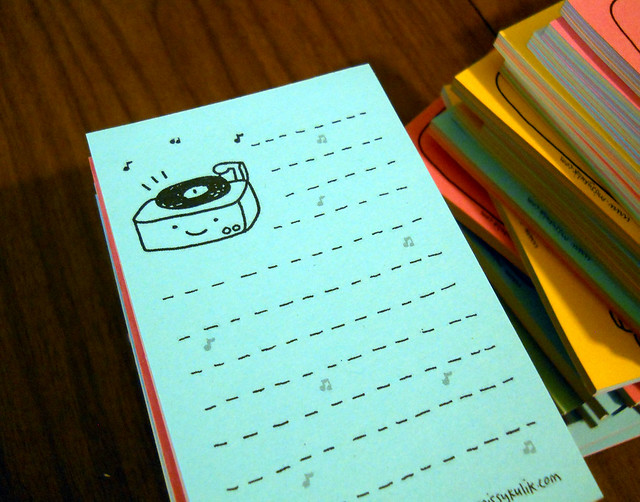
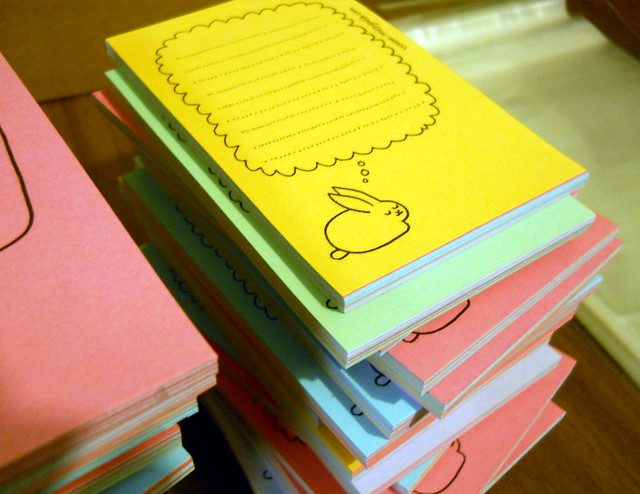
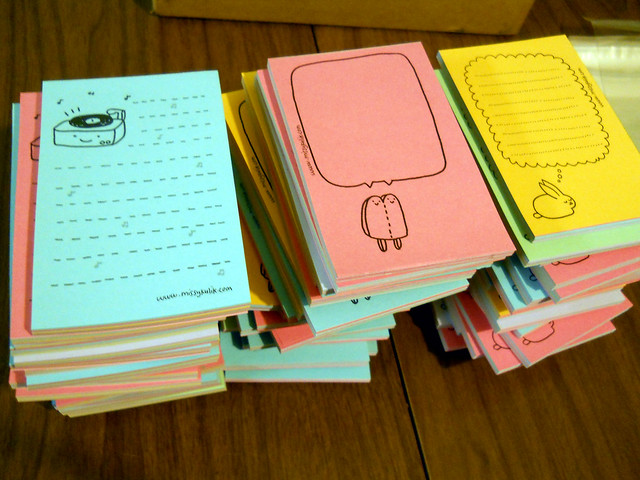
We sent a boxfull of Missy's SUPER-CUTE NOTEPADS to those curators of the adorable at SHANALOGIC.COM...get 'em while they're hot! Perfect for jotting down to-do lists, grocery lists, kiss lists, etc...go scratch that shopping itch at Shanalogic.com...HERE!

PADS 5427

PADS 5428

Nilla One-Hundred And Eight

Nilla's Six Year Celebration 0160

Nilla's Six Year Celebration 0157

Nilla's Six Year Celebration 0154

Monday, April 11, 2011

Operation Cutify - Let There Be Light

OP CUTE 5896

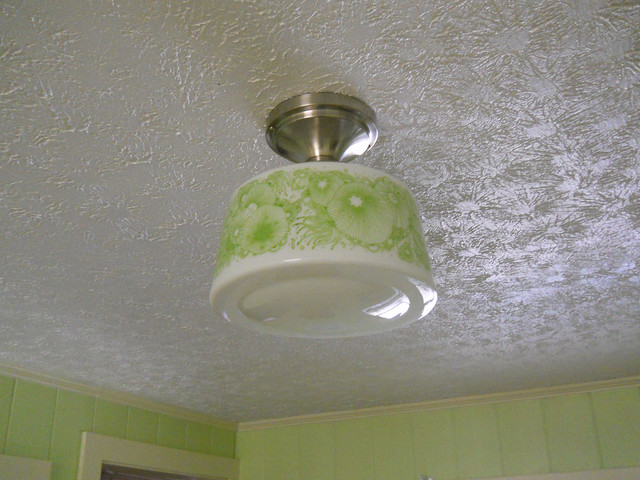
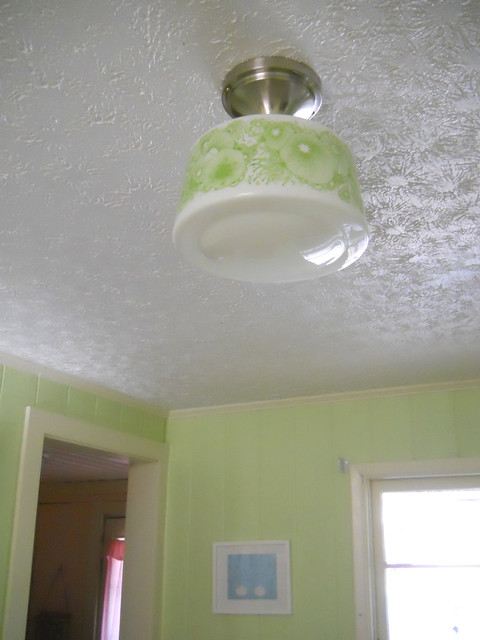
We came home from work today to discover that Missy's parents had installed the new lamp that we got from the awesome SCHOOLHOUSE ELECTRIC! Our dinning room feels so much bigger and prettier now that the UGLY TUPPERWARE BOWL LAMP we had hanging there is gone. Hallelujah (Thanks a ton, Rita and John!)

OP CUTE 5897

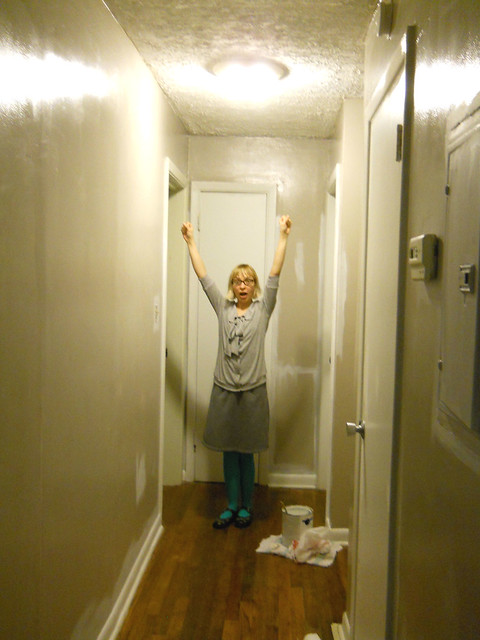
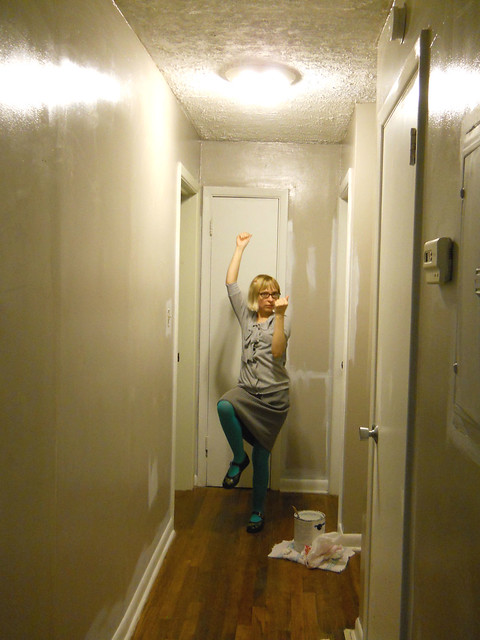
They even got a head start on our wonky HALLWAY, which we are attempting to make into a little ART GALLERY...hopefully, it ends up as cool as we're picturing it in our minds. We'll see. So far, they managed to take all the junk out of the hallway, scrub down all the walls, and begin priming with Killz...

OP CUTE 5887

OP CUTE 5888

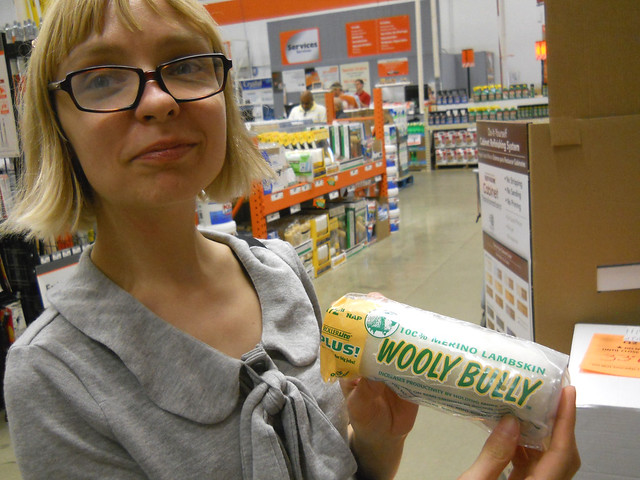
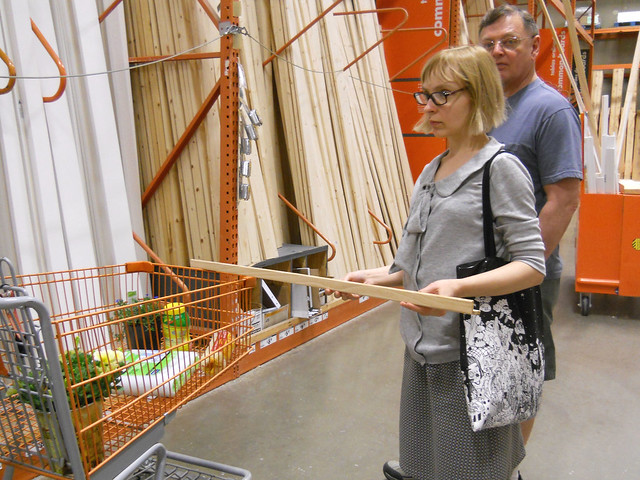
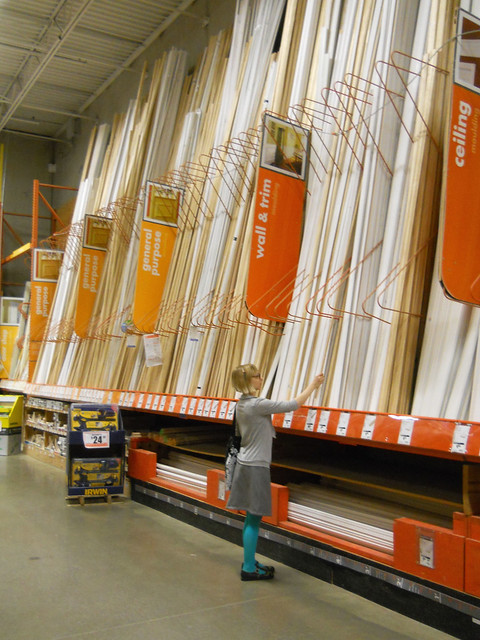
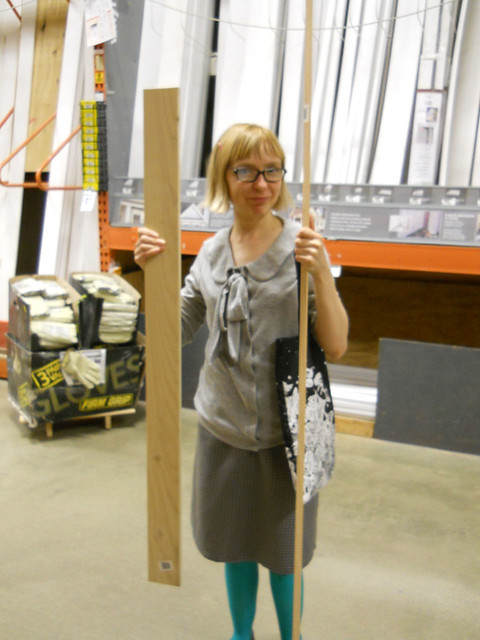
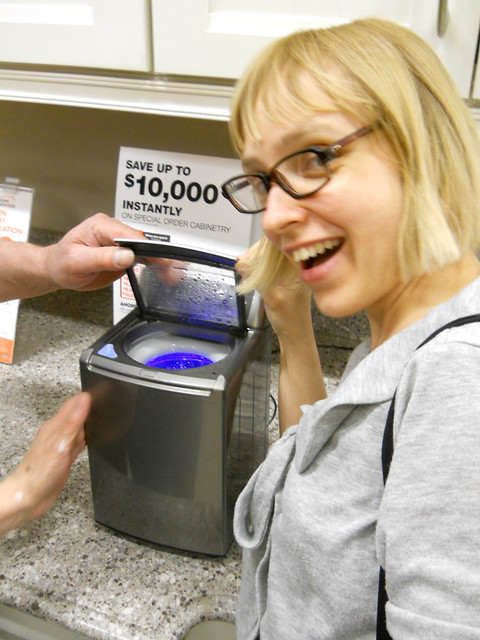
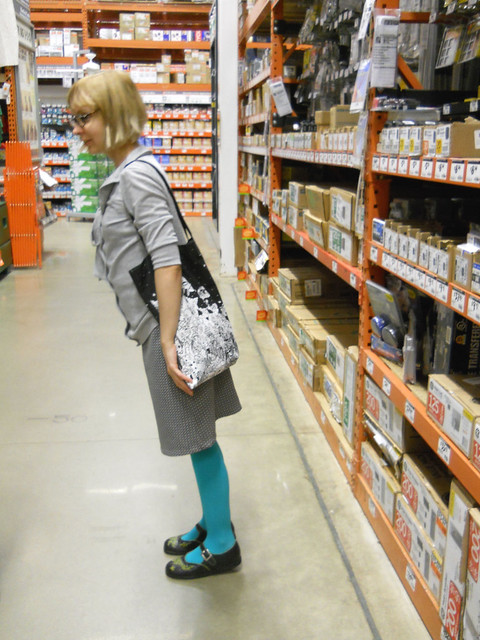
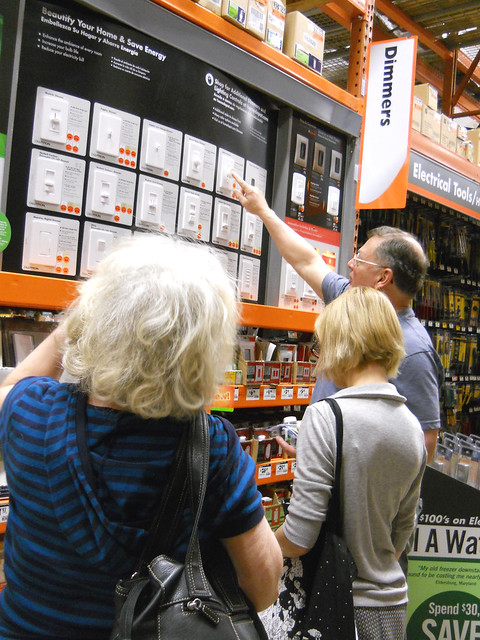
We headed over to HOME DEPOT to stock up on painting supplies and to get planks of wood and molding that will made into D.I.Y. PICTURE SHELVES for the hallway...

OP CUTE 5904

OP CUTE 5911

OP CUTE 5912

OP CUTE 5913

OP CUTE 5914

OP CUTE 5915

OP CUTE 5920